Building a Filament Dry Box
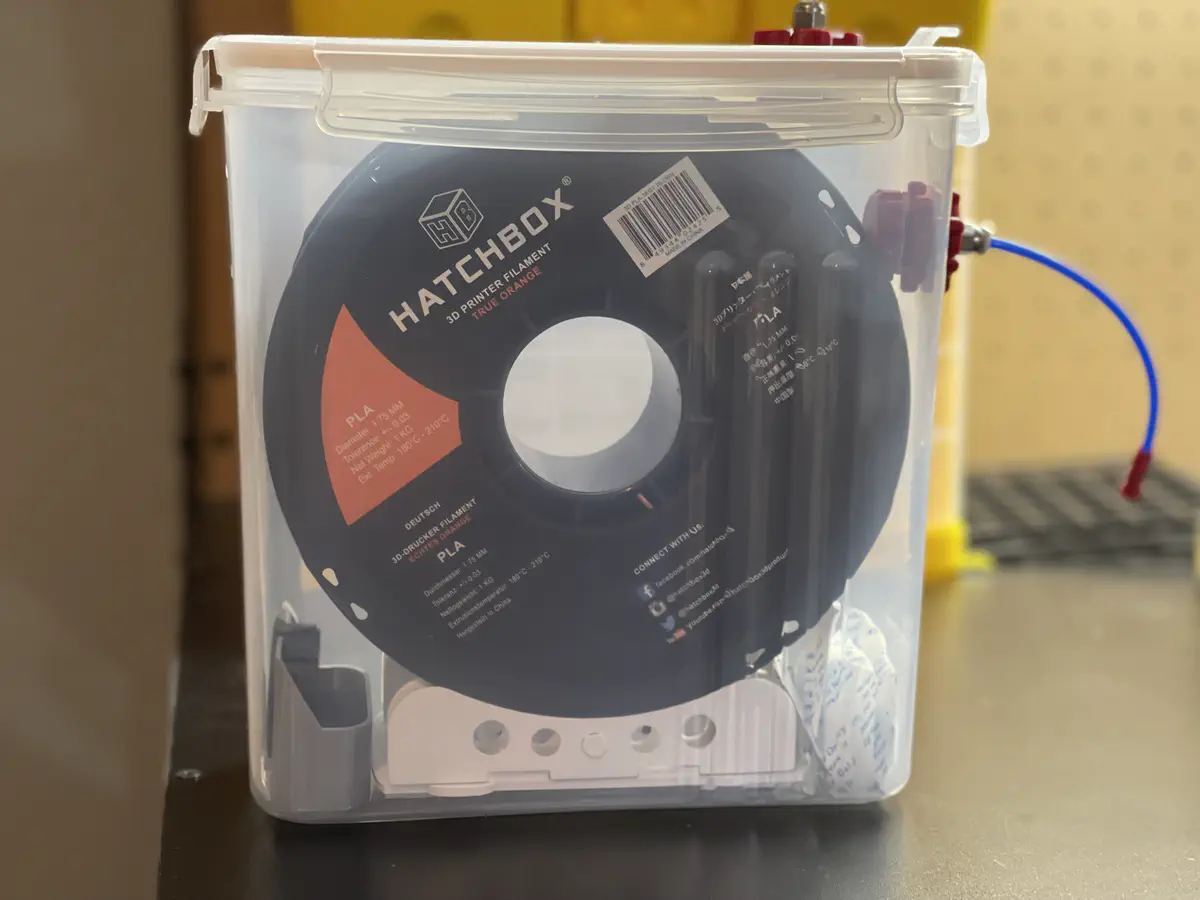 Completed Drybox
I recently posted about drying filament with a food dehydrator. I am typically printing a couple of models a week and I tend to keep using a roll of filament for a while. I do not want to constantly be loading and unloading filament in-between prints to reduce moisture exposure. Once I have the filament dry, I needed a method to keep it dry as I am printing. To achieve this, I have started making my own dry boxes.
Here is the models and steps I used to build my own boxes:
Models:
- Filament Drybox for Wildone Food Storage Container 4L
- Dry-box Filament Pass-Through
- PTFE Tube cap with filament catch
- Hydrometer Stand fro WildOne Food Storage Container
Parts:
- 50 PCS 608-2RS Skateboard Bearing, 8x22x7, Sealed
- ExcelFu 20 Pack PC4-M10 Male Straight Pneumatic PTFE Tube Push in Quick Fitting Connector for E3D-V6 Long-Distance Bowden Extruder 3D Printer
- 5 Gram Pack of 50 “Dry & Dry” Premium Pure & Safe Silica Gel Packets Desiccant Dehumidifiers - Food Safe Rechargeable Paper
- Food Storage Containers Set - Wildone Cereal & Dry Food Storage Containers [Set of 4] with Khaki Lid for Flour, Sugar & Baking Supplies, Leak-proof & BPA Free
- PTFE Tubing(https://amzn.to/3xk8OpE)
- Mini Hygrometer Thermometer Digital Indoor Humidity Gauge Monitor with Temperature Meter Sensor Fahrenheit (℉) 6 Pack
Steps:
- Print the various models
- Assemble the printed parts for the Filament Drybox for Wildone Food Storage Container 4L
- I use a hair dryer to warm the PLA so I can place the bearings
- Insert the PC4-M10 Male Straight Pneumatic PTFE Tube Push in Quick Fitting Connector into each Pass-Through.
- I use a 3/4 inch drill bit to drill holes for the pass throughs in the top and side of the Wildone Container
- I do holes in both the top and side so the I can run filament either way. The Pass-Through has a solid cap so the I can close the pass through I am not using.
- Place PTFE Tubing(https://amzn.to/3xk8OpE) into the Pass-Through you are going to use.
- Put the filament, the Mini Hygrometer, and the Silica Gel Packets into the container.
- The box is now ready for use. I print right from the boxes.
I use the solid Pass-Through cap and the PTFE Tube cap when not using the spool.
Link used are Amazon affiliate program links
Michael J. Wilson
Specializing in “What Not to Do” since 1972
My interests include GIS, 3D Printing (3DP), Machine Learning, and Productivity.